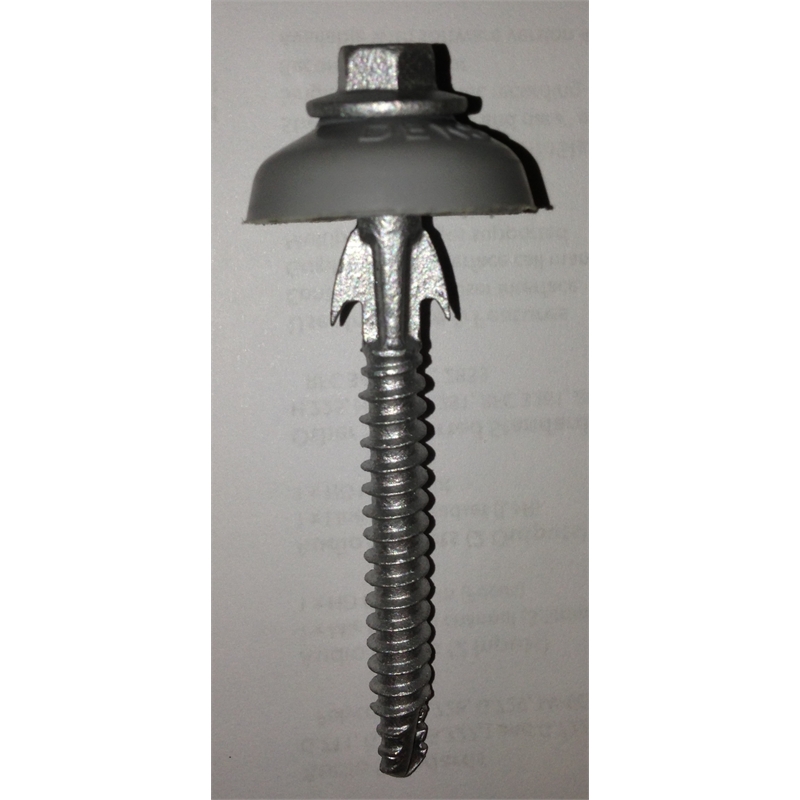
Roof Flashing Screws. Begin by securing the base flashing, creating a stable foundation. Each layer contributes to a seamless flow of water, creating a waterproof roofing system. Web valley flashing is used in roof valleys to direct water off the roof. Fasten the sidewall flashing to the wall and roof using appropriate screws or nails, maintaining a proper overlap with the metal roofing panels. Web follow the 9 steps below so you can install metal roof flashing correctly and ensure a watertight seal: Web attach the flashing: Lay the valley flashing along the valley, ensuring it. Web flashing should be flat against the metal roof, and the screws or nails should be fully covered by the sealant. Web here are the steps for installing metal roof flashing. Rather, it's best to use either roofing cement or. Web generally, to install roof flashing, you shouldn't use screws. Before you begin, make sure you have all the necessary materials and tools on hand, including metal flashing, roofing nails or screws, roofing cement or sealant, and a caulking gun. Add step flashing around walls and valley flashing along intersections. By following these instructions, you can successfully install endwall and sidewall flashing on your metal roof, ensuring a durable and watertight seal against potential. Web roof flashing is a thin material, usually galvanized steel, that professional roofers use to direct water away from.
from www.bunnings.com.au
Web follow the 9 steps below so you can install metal roof flashing correctly and ensure a watertight seal: Each layer contributes to a seamless flow of water, creating a waterproof roofing system. Fasten the sidewall flashing to the wall and roof using appropriate screws or nails, maintaining a proper overlap with the metal roofing panels. Begin by securing the base flashing, creating a stable foundation. Web flashing should be flat against the metal roof, and the screws or nails should be fully covered by the sealant. Before you begin, make sure you have all the necessary materials and tools on hand, including metal flashing, roofing nails or screws, roofing cement or sealant, and a caulking gun. Web attach the flashing: Web valley flashing is used in roof valleys to direct water off the roof. Add step flashing around walls and valley flashing along intersections. Web generally, to install roof flashing, you shouldn't use screws.
Polycarbonate Roofing Accessories available from Bunnings Warehouse
Roof Flashing Screws Before you begin, make sure you have all the necessary materials and tools on hand, including metal flashing, roofing nails or screws, roofing cement or sealant, and a caulking gun. Web follow the 9 steps below so you can install metal roof flashing correctly and ensure a watertight seal: Web roof flashing is a thin material, usually galvanized steel, that professional roofers use to direct water away from. Each layer contributes to a seamless flow of water, creating a waterproof roofing system. Fasten the sidewall flashing to the wall and roof using appropriate screws or nails, maintaining a proper overlap with the metal roofing panels. Before you begin, make sure you have all the necessary materials and tools on hand, including metal flashing, roofing nails or screws, roofing cement or sealant, and a caulking gun. Web valley flashing is used in roof valleys to direct water off the roof. Lay the valley flashing along the valley, ensuring it. Web attach the flashing: Web flashing should be flat against the metal roof, and the screws or nails should be fully covered by the sealant. Rather, it's best to use either roofing cement or. Web here are the steps for installing metal roof flashing. Web generally, to install roof flashing, you shouldn't use screws. By following these instructions, you can successfully install endwall and sidewall flashing on your metal roof, ensuring a durable and watertight seal against potential. Add step flashing around walls and valley flashing along intersections. Begin by securing the base flashing, creating a stable foundation.